Have you seen the cute clay paw print keepsakes people make for their cats? You can make one with things you probably have already in your house!

The day I set out to make mine, I wasn’t planning to, so I had to so a little improvisation. So it’s likely you can adapt this to try today.
First, make salt dough. Yes, this is the stuff you may have used when you were a child to do crafts. It is nontoxic and made of three simple, cat-safe ingredients:
- 1 cup all-purpose flour
- 1 cup salt
- ½ cup water
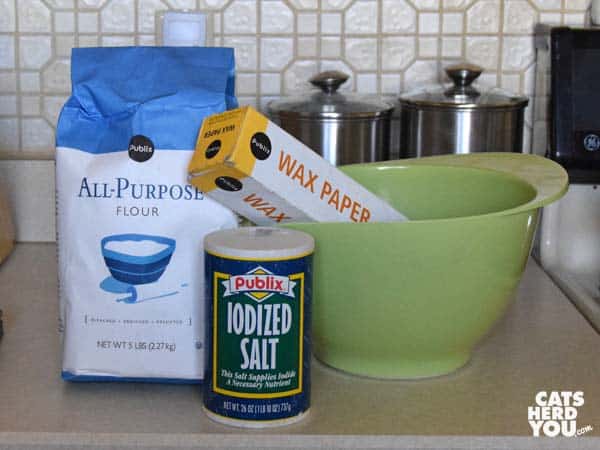
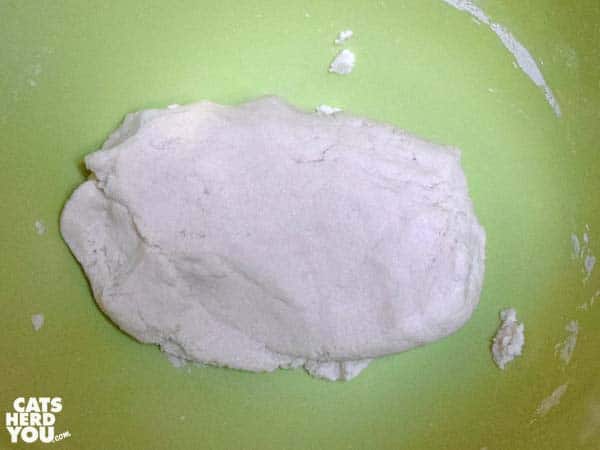
Mix all three ingredients together in a bowl and knead the dough with your hands. It takes a few minutes for the ingredients to combine as you knead and stop being sticky. If the dough feels crumbly and won’t hold together after a few minutes, add a teaspoon of water at a time and knead it in. If the dough stays sticky, add a tablespoon of flour at a time and knead it in until you have a nice dough in your bowl. Be patient when adding extra water or flour and make sure it is thoroughly kneaded in before adding more so you don’t overdo it.
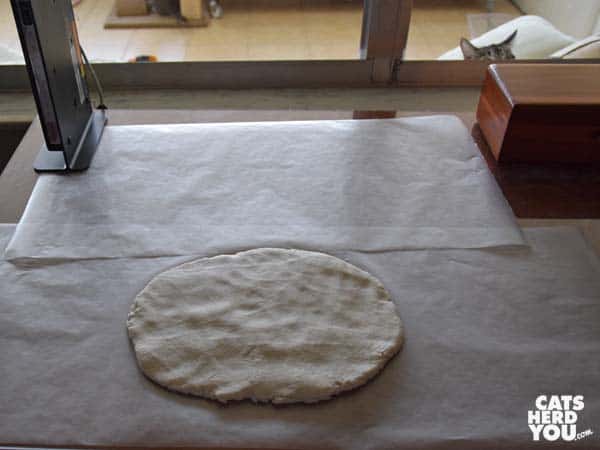
The next step would probably be easier if you have a rolling pin, but I don’t. So I put the dough down on some waxed paper and started patting it carefully flatter and flatter, trying to get to about 1/4 inch thickness. Mine never quite made it that thin.
I then put the waxed paper with the dough somewhere Ashton was familiar with. The whole point of this project was getting her paw print without having to grab her leg, so I chose to put the dough on my desk, a location she visits often.
You can see Ashton already peeking in through the open window to figure out what’s going on.
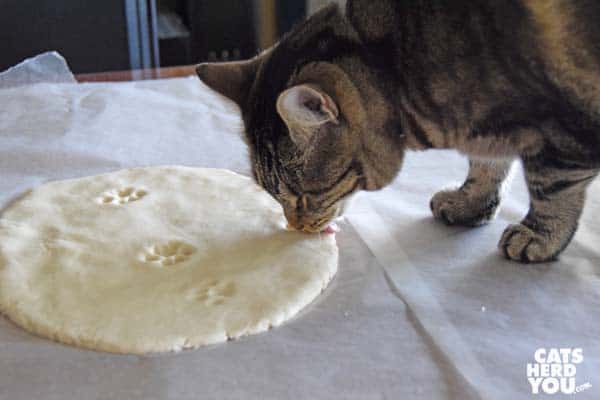
Next, I lured Ashton into walking across the dough. She is notoriously afraid of everything unfamiliar, so I was worried she would leave when she saw the unfamiliar object. Instead, she tasted it! I offered her some cheese to get her to walk across and leave paw prints.
(If you can’t see the video above, you can visit it directly to view.)
Ashton still thought the dough tasted interesting, probably due to the salt. Don’t let your cat eat the dough. The high salt content isn’t healthy.
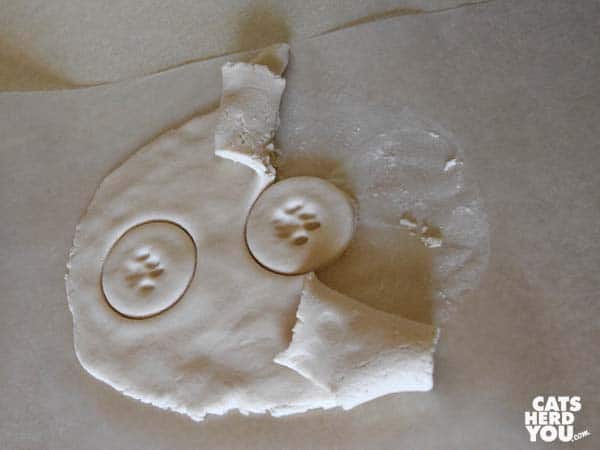
If you like the shape of the dough as a whole, you can keep it as is. I decided I wanted to cut out individual paw prints. Again, since I didn’t plan ahead, I didn’t have cookie cutters, so I used a glass to cut out circles around the dough. Two of the paw prints were too close together for the smallest glass I had on hand, so one of the paw prints turned out off-center.
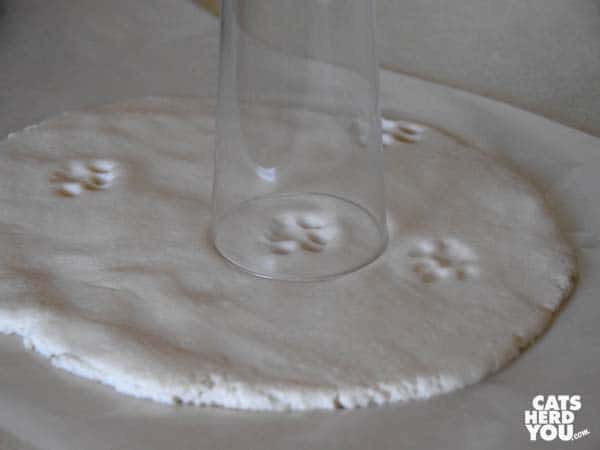
Peel away the unused dough. The dough still soft enough I could have re-formed it into a patty and gotten more paw prints, so a little dough goes a long way!
If you want to hang your keepsakes like ornaments, grab a drinking straw from the kitchen and poke a hole in them now. I didn’t make a hole in mine because I planned to keep it on my desk rather than hanging it up.
Now it’s time to dry the salt dough. You don’t really bake it, even though it is done in the oven. The idea is to get the moisture out of the dough, not to cook it like a baked good.
It’s best to put the clay on baking paper before putting it in the oven to prevent it from sticking to the cookie sheet, but I didn’t have any baking paper. Instead, I put the clay on aluminum foil so that it would not stick.
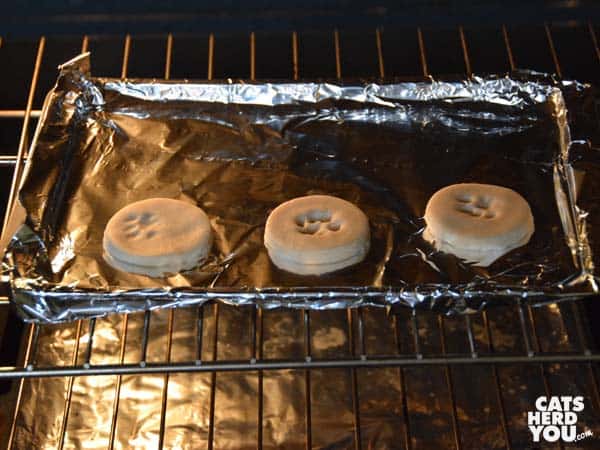
Then I put the cookie sheet with the clay on it into a 200 degree oven. I checked after two hours, but since the dough was thicker than I had originally intended, it was still a little bit soft. I let the oven bake at 200 for another hour, for a total of three hours, and then I turned the oven off and left the house buy some parchment paper and sealant while the dough continued to dry.
Even after all of that, the bottom of the keepsakes still weren’t completely dry, so I got out the parchment paper I bought and put them back in the oven one more hour. I think the parchment paper would have saved me time from the beginning.
Leave the clay somewhere safe to cool completely I used the oven, because Ashton thinks that even the dried dough tastes amazing.
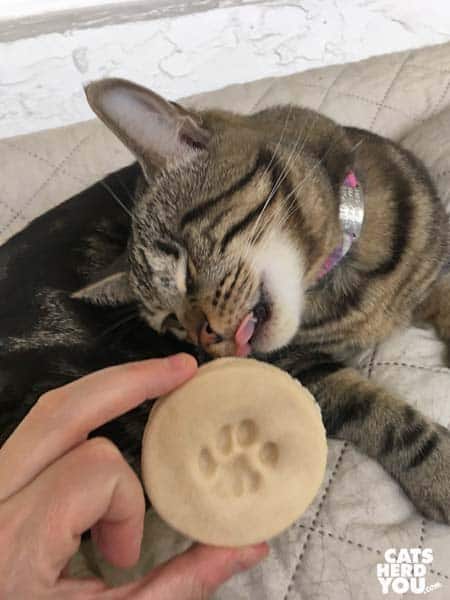
Once the dough was dry and cooled, it was time to seal it. I didn’t sand the edges first, but you can if you want your keepsake to look more polished.
To seal the paw keepsake, I used three heavy coats of clear acrylic spray paint, but you can use anything that will truly seal it. The idea is to keep the moisture out. This isn’t kiln-fired clay, and it will absorb moisture from the environment. That could eventually lead to mold, and you don’t want your paw print to get moldy!
If you don’t have acrylic spray around the house, you can use nearly anything that will cover it completely:
- Permanent white glue that dries clear (like Elmer’s glue)
- Floor wax
- Fingernail polish
- Craft sealer like ModPodge
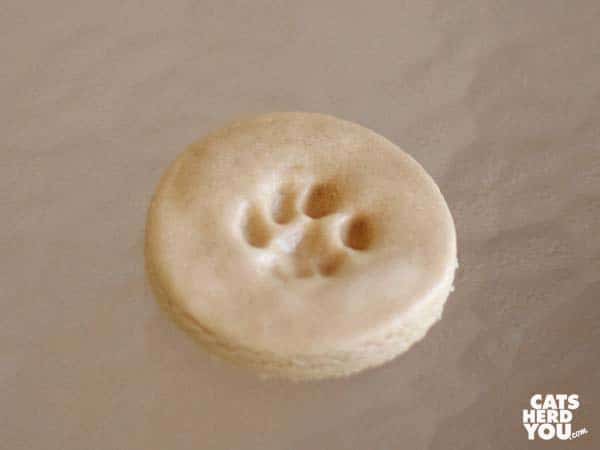
Let your sealant dry completely, and then enjoy your keepsake!
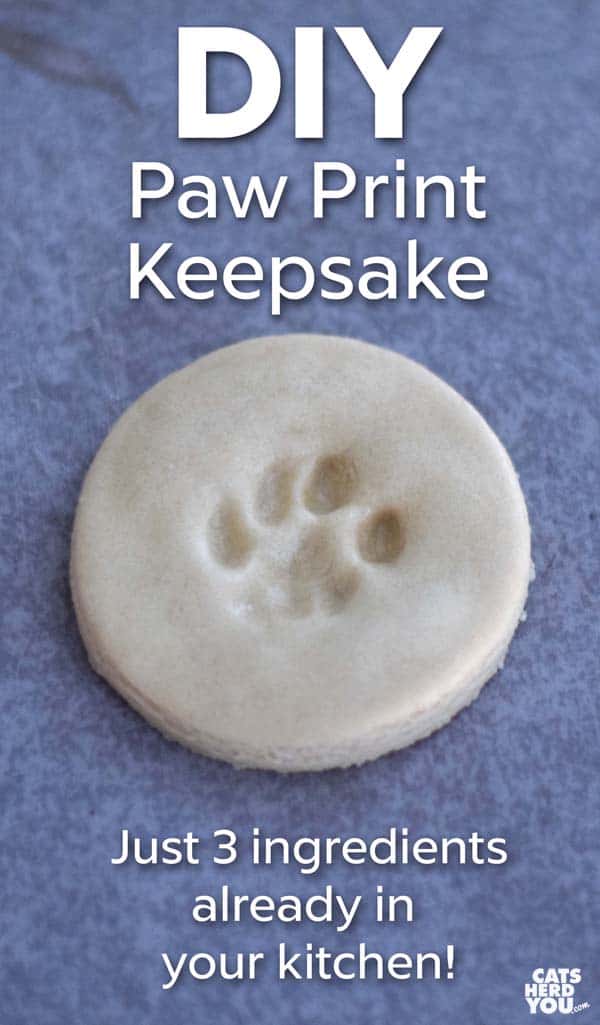


This is a great tutorial! I bet I would taste the dough too.
I see Newton was supervising in the background in the video – did he get treats to stay out of the way, same as Binga does when she tries to supervise?
I would like a cat’s paw print to make a print in my cats box, kinda like expensive hotels put impressions in their ashtrays.
On the end of a stick would be nice. I’d pay like $5.00 for it.
It’s a lot of work but worth it for a special memento. Often people make these as a pet memorial with ready made kits but this is more fun. Btw, any tall jar can be used as rolling pin.
This is such a great idea. I have a clay paw that the vet made for my Angel Rosie on the day we had to say our goodbyes, but I’ve always wished I would have created keepsakes like this while she was still with me. I think I’ll be making some of these paw prints with my furbabies in the very near future. Thank you for sharing this with us!
What a cool idea! The mom has one of those kits to make a pawprint ornament. She hasn’t used it because she can’t decide which one of us should be the one to make the print.
Brillliant! That was a great DIY paw print keepsake. You could even punch a small hole in the top before you baked it so you could put some yarn or string through to hang it somewhere. Love it.
Great idea, thanks for sharing!! We’re going to add this to the blog post so that others who read it later can see it, too.
great step by step (and mom was laughing since she doesn’t bake either and kept thinking her process would be much like the peep’s – don’t have that, don’t have that)
We have those for our Angels but you have a better idea!
I love how you didn’t have this or that or the other thing but still you made it work. It is a good reminder that things do not have to be perfect to be good.
What a fabulous idea!!!
What an awesome project! We could see that being really fun in our household.
Excellent idea!!! OMCs that is too kool
Hugs madi and mom
That is a great idea. I bought clay once and tried, but I had to push on the paw to get a good print and I felt bad doing that. This looks much softer to start with.
guyz…how total lee kewl iz thiz !!! thanx for sharin…..( ashton; we thinked it look like pizza pie dough two 😉 ♥♥
OH I love this for Katie to do. hose turned out beautifully. Ashton, you are my sweetie from far away….
WE also have those for our angels, but what a good idea to do it ourselves. Thanks for all the instructions. That doesn’t look hard at all.
So that’s how you do it! Brilliant!
What a fun project. I had a clay paw print made the day I lost Truffles, but this is something anyone can do with their kitty right at home 🙂
That is TOTALLY cool!!!
The Florida Furkids
Like others, we have pawprint keepsakes for our old brothers and sisters, but we’re liking this idea a whole lot! (We also liked Ashton’s taste-testing!!) Amazingly, we even have those very ingredients on hand!! (Mom’s not much of a cook.) We can envision using these for Catmas decorations, too! Thanks so much for this instructive post.
Oh, and Mom says she bets ModPodge would work as a sealant, too. That’s what she used to preserve Olivia’s Cheez-Its for her afterlife box.
This is a great idea! We’re adding it to the blog post now so others can try it, too.
That is SO COOL! TBT says he will do that!
What a cool DIY project! We love it. Lexy would eat that dough for sure.
I LOVE THIS!!! My Mom used to make homemade play-dough (she was a preschool teacher) – but I never thought of adjusting it to make permanent prints. Bear doesn’t usually cooperate on stuff like this … but I’m excited to try. I also appreciate your list of alternative for finishing the product.
Wow that is very cool and looks great. Very cute that she walked across the dough all by herself. Not sure I could get my kitties to do that. But I may have to try this!
What a great idea ! The result is really cool ! Purrs
wonderful idea and great explanation!!!! I teached my cat how to paw sign things by himself.
What a great thing! We’re going to make ones for Casper and Cocoa. We might even paint them before we seal then for added awesomeness. 😊
I think this is great! When my Daisy passed away at the age of 25yrs old, my Vet asked if I wanted a paw print? Of course I said yes! It took a month to get it, when I did, my gut instinct kept telling me that it wasn’t my Daisy’s print! Nevertheless, I kept it just in case it was. Now my Friskie, died of ketoacidosis! He was only 7yrs old! OMG, I took good care of my babies, anyway that was April 16th, 2019 I’m still waiting for the paw print. So, I decided to go to the vet’s office in person to ask for it, this way I’ll know for sure by their response if they did it or not! I have two boys left out of four. I’m going to do exactly what you did, this way I know for sure their my fur babies prints!! THANK YOU FOR YOUR TUTORIAL! It’s easy to follow, and I have all the ingredients on hand!! Thank you so much again!!
I rescued a cat just before she had her lone kitten in May, and thanks to you today we made keepsake of mommy’s pawprint next to her wee baby’s pawprint! And yes, they both tried to lick the dough!
Hello,
I hope this finds you well. I wanted to express how thankful I am. My beloved cat- my son and best friend of only 7 seven years of age- had a sudden and rapid decline in his health that led to him going from perfectly fine to on his deathbed in 12 hours. It was the middle of the night and I had no access to any paw print mold kits or even any ink but I really wanted something to remember him by before he passed completely. I stumbled upon your post and gently pressed one of his paws into the mold I made following your instructions. He passed away only a few hours after I finished drying the mold. It came out perfect. I now have something to remember him by because of you. I am forever thankful, more than words can say.
Ok so I used a magic mold by craylo but it has crack all threw out it… My 14 years diabetic cat wont allow me to even try this… Can I add more black non toxic mold and save it from cracking even with nail polish clear… Its done I just wanna save it.. As vets are so much just to do a print!
Such a sweet keepsake! Just made them for all 8 of my animals lol (4 dogs, 2 cats, 2 rabbits). You can also paint them! LOVE!!
Hi. Great idea. I just picked my cat up and placed her feet first on the dough. Worked well.
I think it might be worth mentioning that the 200 degrees is Fahrenheit and not Celsius.
Will try it again today with the oven on about 90 degrees Celsius.
yesss i was looking for that thank you
Great idea! Sure beats paying $30 dollars at the Vet Clinic! Your idea gives way to personalize the keepsake by color, size and scent. Thanks for the idea.
What a great project!!! I have a senior and this would be great to have as a momento of her. I will try this on my dogs too! 😊. Thank you for sharing this! ❤️
Thank you so much for this great tutorial!! I just adopted two kittens after leaving my last fur babies with my ex (divorce 🤷🏻♀️) and have been trying to find ways to keepsake their phases of growth/life. This is the best and most thorough way I’ve found. 4 yrs later and this is still helpful. Found a new fan, your kitties are really cute!!
I never coated mine and it dried up and cracked. 😭😭 Mine was for my huge dog’Biggz’, I had to put him down because of bone cancer. A few months before that I had to put my ‘Kiki’ down due to cancer,also.
Be sure to coat it,tho!!!